




Introduction
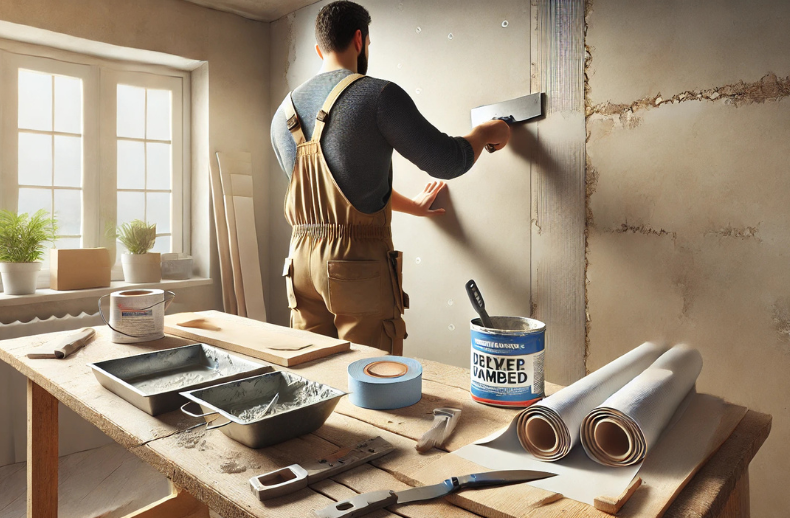
Drywall taping is a vital step in the finishing phase of drywall installation. It involves applying joint tape and compound to create a seamless, professional-looking surface. While it may seem daunting to some, mastering drywall taping can significantly enhance the appearance of your walls and ceilings.
This article will demystify drywall taping, offering tips and techniques to achieve a flawless finish.
| Step/Aspect | Description | Tips |
| Preparation | Inspect drywall for dents, loose screws, and debris. Repair imperfections and clean the surface. | Use a damp cloth to remove dust; ensure screws are flush with the surface. |
| Choosing Tape | Select between paper tape (strong, ideal for corners) or mesh tape (self-adhesive, easy to use). | Use paper for sharp corners and mesh tape for flat seams for easier application. |
| Applying Base Coat | Spread a thin layer of joint compound over the seam to embed the tape. | Apply enough mud to prevent bubbles; |
| Sanding the Surface | Sand the surface once the compound is dry to achieve a smooth finish. | Use fine-grit sandpaper; wear a dust mask and goggles to protect yourself from drywall dust. |
| Finishing Inside Corners | Use a corner trowel for clean edges to apply tape and mud carefully in inside corners. | Use minimal compound to avoid build-up; feather edges for a sharp corner. |
| Inspection and Touch-Up | As needed, check the surface for imperfections under angled light and apply a touch-up compound. | Look for visible seams or bubbles and correct them before painting. |
| Common Mistakes | Bubbling tape, visible seams, or over-sanding. | Apply thin coats, use adequate mud, and feather edges properly. |
| Final Steps | Clean up dust, prime the surface, and paint or finish as desired. | Use a drywall primer before painting to ensure even color and adhesion. |
Understanding the Basics of Drywall Taping
Drywall taping involves applying joint compounds (or mud) to the seams between drywall sheets and covering them with tape. This step ensures the joints are invisible, leaving smooth, flawless surfaces behind.

Taping keeps cracks from developing later by hiding the joints and strengthening the bond between drywall panels.
Tools and Materials Needed
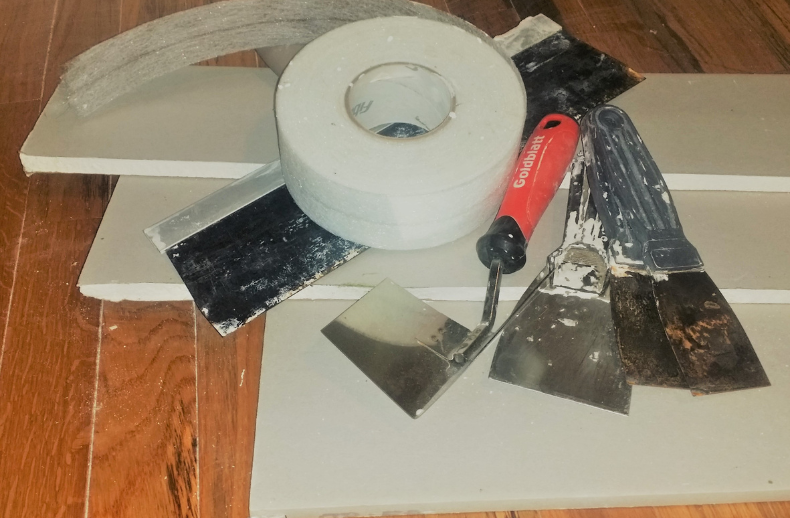
Here’s a list of essentials:
- Joint tape: This can be paper or fiberglass mesh tape.
- Joint compound: Also known as mud, this comes in various types, including all-purpose, lightweight, and setting-type.
- Taping knife: A 6-inch knife for applying the first coat and a 10- or 12-inch knife for subsequent coats.
- Mud pan: Used to hold the joint compound while you work.
- Sanding block or pole sander: For smoothing the dried compound.
- Utility knife: For cutting drywall and tape.
- Measuring tape: For precision in cuts.
Preparing the Drywall Surface
Proper preparation of the drywall surface is essential for successful taping. Begin by inspecting the drywall for imperfections, such as dents, dings, loose screws or nails, and any dust or debris. If any issues are found, repair them using joint compound to fill in dents and ensure all screws and nails are properly sunk below the surface.
Once the repairs are made, clean the surface with a damp cloth to remove any dust or debris, as these can interfere with the adhesion of the tape and joint compound
Taping the Joints: Step-by-Step Guide
Here’s a step-by-step guide:
Step 1: Apply the First Coat of Joint Compound
Using your taping knife, scoop some joint compound from your mud pan. Apply a thin compound layer over the joint where two drywall sheets meet. This layer should be about 1/8 inch thick and wide enough to accommodate the tape.
Step 2: Apply the Joint Tape
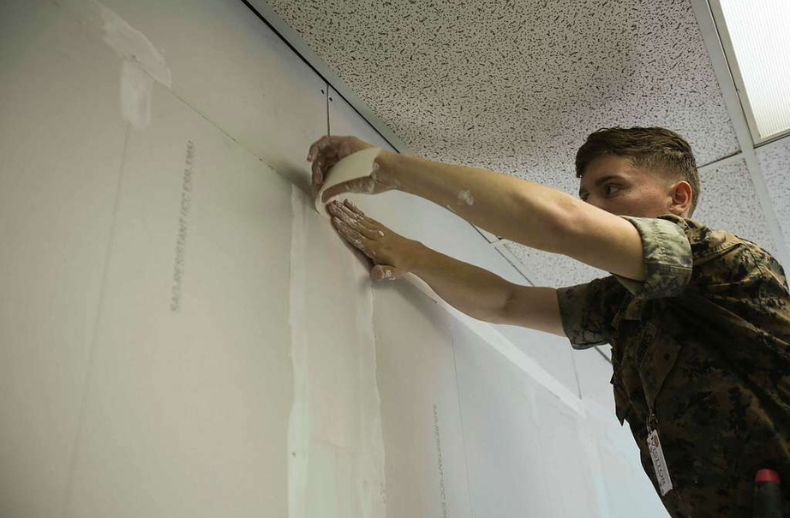
Place the joint tape over the wet compound, ensuring it is centered over the seam. Be careful not to create bubbles or wrinkles.
Step 3: Embed the Tape
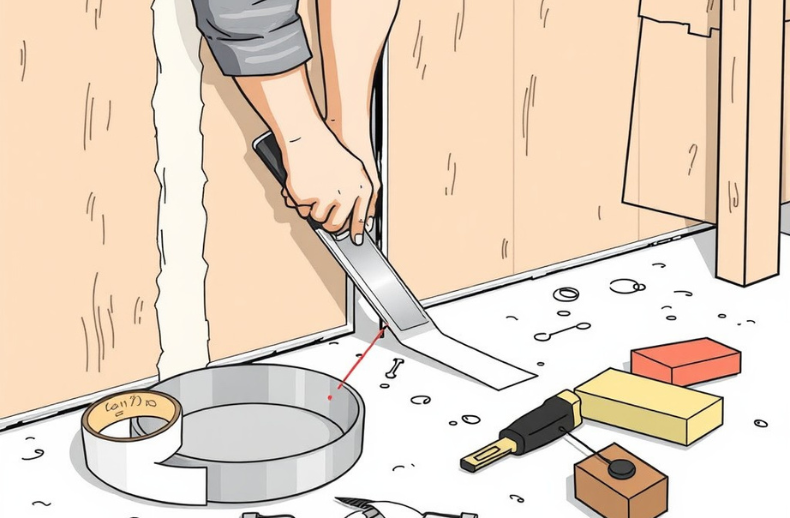
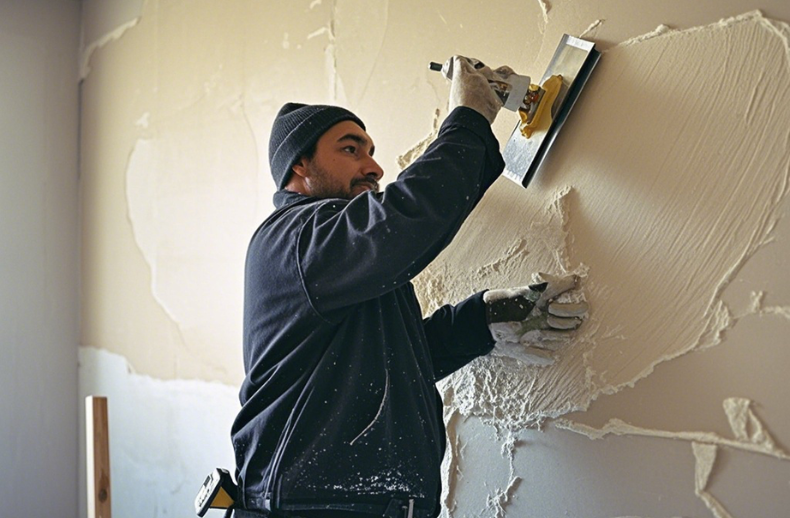
Applying more joint compound over the tape, embedding it into the mud using the taping knife. Hold the knife at a 45-degree angle and use light pressure to smooth out the compound, feathering the edges to blend into the drywall.
Step 4: Allow to Dry
Let the first coat dry completely, which may take several hours or overnight, depending on the compound used and humidity levels.
Applying Additional Coats
Once the first coat is dry, apply additional coats for a smooth finish.
Step 1: Sand the First Coat
Lightly sand the dried first coat using a sanding block or pole sander. This step helps create a smooth surface for the next coat and removes any ridges or imperfections.
Step 2: Apply the Second Coat
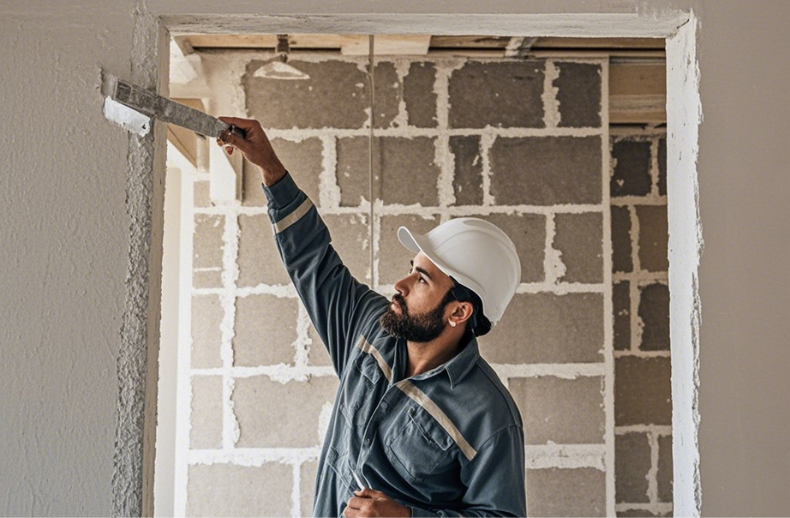
Mix your joint compound if necessary, and apply a second coat using a wider taping knife (10-12 inches). Extend the compound wider than the first coat to feather the edges further.
Step 3: Allow to Dry and Sand Again
Once the second coat is dry, sand it lightly again. This process may be repeated for a third coat, especially in areas with wide seams or corners.
Drying Time and Environmental Considerations
An often overlooked factor in drywall taping is how temperature and airflow affect drying time and final results. Joint compound dries through evaporation, meaning cold temperatures, high humidity, or poor ventilation can significantly slow the process and increase the risk of imperfections. Ideally, drywall taping should be done in a space maintained between 55°F and 75°F (13°C–24°C) with gentle air circulation.
Using fans or opening windows slightly can help moisture escape, but direct airflow should not blow directly onto freshly applied compound, as this may cause uneven drying or cracking. Managing the environment properly ensures smoother coats, better adhesion, and a more professional finish.
Finishing Touches
1. Corner Beads
Using corner beads will enhance durability and create a crisp edge for outside corners. Use screws or nails to secure the corner bead, then apply joint compound over it, feathering the edges to match the wall.
2. Final Sanding
After the last coat has dried, do a final sanding for a smooth finish. Ensure that the surface is even and free of any imperfections.
3. Priming and Painting
Before painting, apply a primer specifically designed for drywall. Priming helps seal the joint compound and provides a uniform surface for paint.
Common Mistakes to Avoid
To achieve a professional finish, be aware of common mistakes:
- Using Too Much Compound: Applying excessive joint compound can lead to cracking as it dries. Stick to thin layers.
- Not Embedding the Tape Properly: Ensure the tape is fully embedded in the compound to prevent bubbling.
- Skipping Sanding: Skipping sanding between coats can lead to a rough finish. Always sand for a smooth surface.
Tips for Success
1. Work in a Well-Lit Area
Good lighting is crucial for spotting imperfections and ensuring an even application.
2. Keep Tools Clean
Clean your tools between applications to avoid contaminating your joint compound with dried bits.
3. Use Quality Materials
Investing in high-quality joint tape and compound can significantly affect the outcome.
4. Maintain Humidity Levels
Extreme humidity can affect drying times and the performance of joint compounds. Aim for moderate humidity levels when working.
Conclusion
Drywall taping may seem intimidating, but you can achieve a professional finish with the right tools, techniques, and patience. By understanding the process and avoiding common pitfalls, you can transform your drywall into a beautifully finished surface ready for paint.
Whether you’re a DIY enthusiast or a seasoned professional, mastering drywall taping will elevate the quality of your work and enhance the overall appearance of your spaces. With practice and attention to detail, drywall taping will become a valuable skill in your home improvement repertoire.
Apart from that if you want to know about “Paint Finish for Bathrooms: A Guide to Choosing the Right Style, Durability, and Long-Lasting Options” then please visit our “Home Improvement” Category.
FAQs
The two main types of drywall tape are paper tape and fiberglass mesh tape. Paper tape is stronger and better for sharp corners, while fiberglass mesh tape is self-adhesive and easier for beginners.
Drywall taping covers the seams between drywall sheets with tape and joint compound to create a smooth, seamless surface.
Yes, sanding is necessary to guarantee a smooth surface in between layers. Before applying the subsequent layer of joint compound, it eliminates any ridges, bubbles, or uneven spots.
