


Making your own playing card boxes is a great way to show off your creative flare and add a little bit of personal flair to your cards. Whether you’re a beginner or an experienced packaging maker, these instructions will help you make the perfect cardboard boxes for your favorite deck of cards.
Measure the size of your desired card box and cut out a template using craft foam or paper. Make sure to trace the edges of the template so that you have a perfect fit.
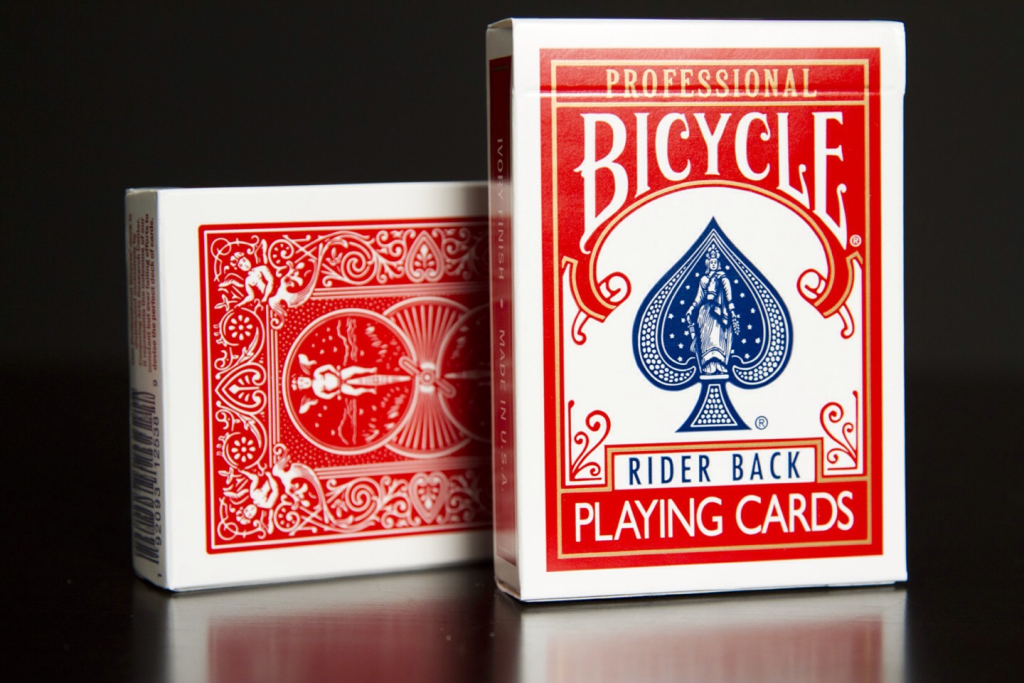
Make DIY Playing Card Boxes
TheCustomBoxes makes playing card boxes a fun and easy project that can add an individual touch to any deck of cards. You can use any type of box you wish, but a standard cardboard box will work well for this project.
Materials Use
Making your own playing card boxes is a fun and easy project that can be completed in just a few hours. All you need are wood boards, a drill, and some screws.
First, measure the length and width of the boards you want to use and mark them on the boards using a pencil. Then, using the drill, drill several small holes along the marked lines. Be sure to pay attention to the grain of the wood so that your box will look authentic.
Next, take your screws and screw them into the holes along one long side of each board. Make sure that the screw heads are facing down so that they won’t show when you’re finished.
How to Make the Boxes
Making your own playing boxes is a fun way to customize your deck and add some personality to your games. There are a few different ways to make these boxes, but the most common method is to use a cutting mat and a ruler or yardstick to create the desired size box. You can also use an online tool like this one to help you create the perfect shape.
Once you have your desired size, it’s time to start cutting! Keep in mind that the lid of the box should be slightly smaller than the bottom of the box so that it fits snugly and doesn’t move around when you shake the deck. Once you’ve cut all of your pieces, it’s time to start assembly! Use hot glue or another adhesive to attach the lid of the box to one side of the bottom piece, then fit the other side over top. Finally, hot glue or sew on any additional details (like a label or logo). Your playing cards are now ready for use!
How to Assemble the Boxes
There are a few different ways to assemble the boxes. You can use a variety of materials and techniques, depending on what you have available.
Using a Laminator:
One option is to use a laminator to create the boxes. This is a quick and easy process that requires no sewing or cutting. Simply choose the size and shape of your boxes, print out the templates, and laminate them. Then, just follow the instructions on how to assemble the box.
Using Cardboard:
Another option is to use cardboard as the base for the boxes. You can cut out an appropriate size and shape for each box, then attach it with tape or staples. Be sure to check out our blog post on making custom playing card boxes for more information on this method.
Both methods require some assembly work, but they’re both relatively easy and fast to put together. Once you’ve completed your project, you’ll have beautiful, customized playing boxes that will impress your friends and family!
Tips for Making a DIY Playing Card Box
Here are some tips for making DIY playing boxes:
- Begin by cutting out the pieces of cardboard to fit your desired box shape. Make sure each piece is the same size and shape so that they can be glued together later.
- Once the pieces are cut, prep the surface with a coat of paint or a sealant. This will help keep the cardboard from peeling or crumbling in the future.
- Place one piece of cardboard on the front of your chosen layout and trace around it with a pencil. Cut out the traced circle using scissors, and then glue it into place on top of the front panel of your box using a glue gun or hot glue sticks.
- Repeat these steps for the back panel, but this time, leave a small hole for your deck of cards to fit through.
- Once both panels are in place, draw or print onto them both circles representing eyes and mouth respectively with a ruler and pen. Again, use hot glue to attach these circles to their respective panels.
- With everything assembled, prop up your box on something sturdy so that it’s level, and trace around its perimeter with a pencil.
People May Also Know: Custom Cardboard Boxes Ideas And Innovation
Final Words
Making your own playing card boxes is a fun and easy way to enhance your collection and customize your deck. You can make a variety of different designs, sizes, and colors to fit your style. fabric labels, or pompoms if desired. Voilà! Your own custom boxes are ready to use.